

A flooring sample test should do more than confirm whether a color looks attractive. It should show how the board reacts to real lighting, how the surface feels, whether the edges fit cleanly, and whether the approved sample can be matched during production. For importers, distributors, designers, and project buyers, this reduces the risk of approving a board that looks suitable in a photo but does not meet the project’s visual or structural requirements.
This eight-step guide focuses on Engineered wood flooring and Unique artistic parquet floor products, where color variation, finish, core construction, and joint accuracy affect approval.
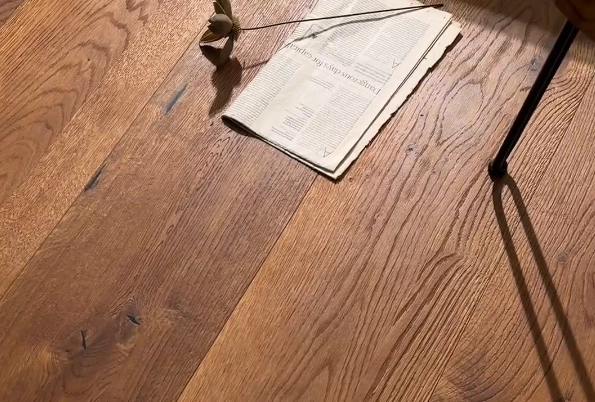
Why Should Buyers Run a Flooring Sample Test Before Approval?
A physical sample adds information that a screen cannot show, but it remains only one part of the approval process. Buyers also need product specifications, test documents, and a written sample record before confirming an order.
YEHUI supplies Multi-Layer Engineered Wood Flooring and artistic flooring for overseas projects. Its workflow covers material selection, drying, moisture control, surface treatment, inspection, sampling, and order communication. A sample can therefore support checks on structure, finish, dimensions, and joints before order approval.
The Value and Limits of a Physical Sample
A flooring sample is a physical section of the proposed product. It helps you check color, grain, texture, gloss, edge shape, board proportion, and joint design.
It cannot prove every performance claim. Short water and scratch checks are screening methods, not substitutes for formal moisture, swelling, bonding, or surface test documents.
Project Risks Hidden by Photos and Single-Board Reviews
Camera settings, screens, and lighting can change how product photos appear. One board also cannot show the full color range of a natural surface or the visual rhythm of a wide-board layout.
For a shorter comparison method, refer to this guide on how to test flooring samples before a final purchase before preparing a formal approval record.
How Should You Prepare Flooring Samples for a Fair Test?
Test conditions must remain consistent. Otherwise, lighting, background, and placement may influence the result more than the product itself.
Step 1: Label Every Sample Before Testing
Write the product code, species, finish, core construction, board size, T&G profile, supplier, and sample date on the back. Photograph the face, side profile, and joint.
Do not approve a board using only a general name such as “light oak.” Use the same code and specification recorded during the Engineered wood flooring sample inspection.
This step becomes especially important when several samples use similar colors but have different surface treatments or core structures.
Step 2: Control Lighting, Background, and Placement
Place all samples on the same surface and view them from the same angle. Check them in daylight, warm indoor light, and cool indoor light. This creates a useful flooring color test under different lighting.
Compare the boards beside the actual wall, door, furniture, or fabric finishes. Place wider boards flat to judge their scale and proportion in the room.
Do not compare one sample beside a window and another in a shaded area. The lighting conditions should be as equal as possible.
Step 3: Create a Buyer Scorecard
A flooring sample approval checklist keeps design, purchasing, and sales teams focused on the same points.
| Test Area | What to Record | Decision |
| Farbe | Tone and grain in different lighting | Approve, retest, or reject |
| Oberfläche | Texture, gloss, and coating consistency | Approve, retest, or reject |
| Edges | Chips, gaps, and profile accuracy | Approve, retest, or reject |
| Struktur | Core, flatness, and layer bonding | Approve, retest, or reject |
| Joint Fit | Alignment and dry-fit result | Approve, retest, or reject |
The scorecard creates a written trail showing why a sample was accepted, questioned, or rejected. It also reduces disagreement when several people are involved in the final decision.
What Should You Check First in Color, Texture, and Finish?
Visual approval should cover more than light versus dark. Grain depth, reflection, coating consistency, surrounding materials, and room lighting all affect the finished appearance.
Step 4: Compare Color Under Real Project Lighting
Place two or three close options side by side. Check the base tone, grain contrast, knots, undertones, and expected variation between boards.
For interiors that need a lighter oak direction, Multi-Layer wood Flooring-QH1902 is useful for checking how a brushed and oiled European Oak surface changes between daylight and warm light. Review it beside pale walls, warm furniture finishes, and the project’s lighting plan.
Strong light may wash out a pale board, while a dark board may feel too heavy in a dim room. Approve the full material combination rather than judging the sample by itself.
Natural wood surfaces may also show controlled variation between boards. Buyers should decide how much grain and color variation is acceptable before production.
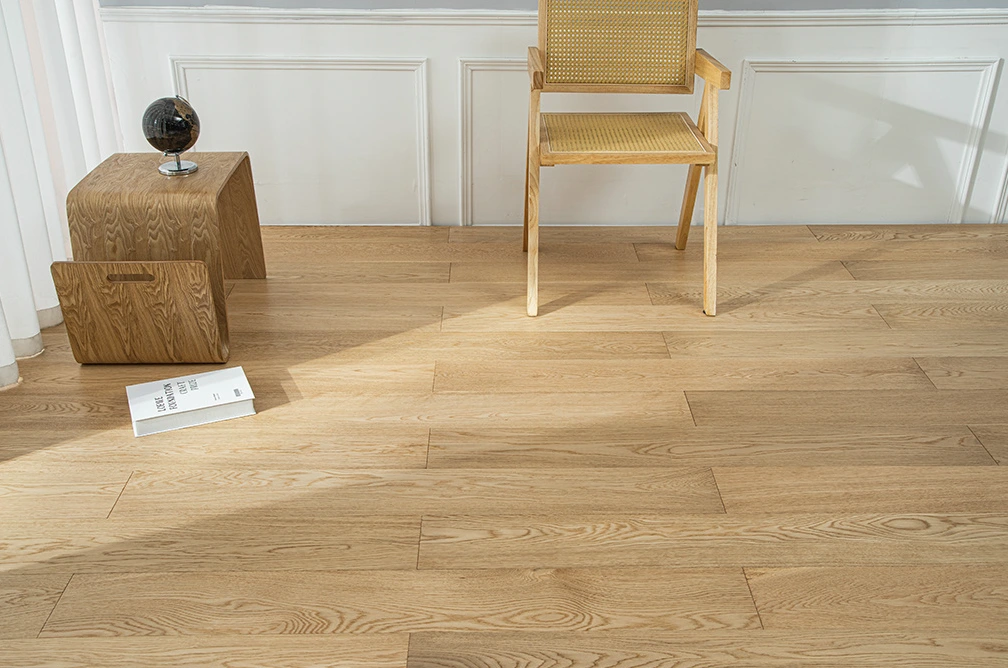
Step 5: Inspect Texture, Gloss, and Finish Consistency
View each sample from above and from a low angle. The low angle helps reveal uneven gloss, sanding marks, coating build-up, and edge finishing. Run your hand across the face and edge to check whether the texture remains consistent.
All Birch Plywood Core wood Flooring-QH1925 provides a darker comparison with a smooth matt UV-coated surface and birch core. During the flooring sample test, compare its reflection, visible dust, and surface marks with the brushed and oiled finish of QH1902.
Choose according to lighting, cleaning expectations, and design direction rather than treating one finish as universally better.
During production, UV curing creates a controlled surface with wear resistance and coating adhesion, while oil finishing presents the grain differently. Record these differences instead of relying only on sales descriptions.
Which Performance and Construction Checks Matter Before Ordering?
After visual approval, move to surface response, layer construction, flatness, edge machining, and T&G fit. These buyer-side checks help identify obvious problems, but they do not replace formal test documents.
Step 6: Run Controlled Surface and Water-Response Checks
Use the same tool, angle, and pressure for a light contact test on each board. Look for white marks, gloss changes, coating damage, or stains that are difficult to remove.
Repeat the flooring sample test under the same conditions so the results remain comparable. Avoid using excessive pressure or sharp tools that create damage unrelated to normal use.
For a short water-response check, apply the same small amount of water to each sample for the same period. Wipe it dry and inspect the face, edge, and finish. This is only a screening step. It does not prove formal moisture resistance.
Ask the supplier how moisture content is controlled and whether the order clearly defines the core and finish. Moisture control, bonding quality, and layer construction should be confirmed through specifications and production records rather than judged only from one sample.
Step 7: Inspect Core Structure, Flatness, Edges, and T&G Fit
Check the side profile, bonding lines, surface layer, and edges. Lay the board flat to spot visible warping, twisting, or raised corners.
Cross-layer construction helps limit cupping, gaps, and cracking as environmental conditions change. The sample should also show clean layer bonding without obvious separation.
Dry-fit two or three boards. The joint should align without clear height differences, chipped edges, or irregular gaps. The T&G profile must match the approved specification because small machining differences can change the finished joint line.
For projects requiring a long, wide board and an aged oak appearance, Aged Burgundy Oak-FD-YH-01 provides a useful construction sample. Its listed features include European Oak, three-layer construction, hand-oiled and reactively stained finishing, and a T&G joint profile.
Review its proportion in the room and record the edge profile in the flooring sample test file. Custom 3 mm, 4 mm, or 6 mm surface layers can be discussed according to project requirements.
How Do You Approve a Sample and Move Toward a Final Order?
Testing only protects the order when the result follows the product into production, inspection, packaging, and shipment communication.
Step 8: Keep a Golden Sample and Written Approval Record
Keep one approved board as the golden sample. Mark the product code, finish, core, size, T&G profile, sample date, and approval status. The buyer and supplier should work from the same description.
The record should match the quotation, production sheet, packaging label, and inspection documents. If one document uses a different product code, finish name, or board size, the difference should be clarified before production.
For natural surfaces, define the acceptable range of grain, knots, and color variation. Flooring sample-to-order consistency does not mean every board looks identical. It means the order follows the agreed structure, finish, dimensions, joint profile, and visual range.
The final decision can be recorded as:
- Approve
- Approve with Conditions
- Retest
- Reject
YEHUI Product Matching for Different Buyer Priorities
QH1902 supports comparisons involving lighter oak tones, brushed grain, and an oiled finish. It is useful when the project requires a softer, more natural surface direction.
QH1925 is relevant when a darker matt UV appearance and birch core are required. Its sample should be checked for reflection, visible surface marks, and compatibility with darker furniture or wall materials.
FD-YH-01 suits projects that need a long-board format, aged color treatment, three-layer construction, and a defined T&G profile. Its proportions should be reviewed in the actual room rather than judged from a small product photo.
Choose according to room size, lighting, surrounding materials, cleaning expectations, specification, quantity, and budget.
Sample, Customization, and Contact Support
If your team is comparing close colors, surface systems, or T&G profiles, prepare room photos, target tone, preferred finish, board dimensions, installation method, estimated quantity, and destination market.
Use YEHUI’s Kontakt channel to request product matching, sample information, customization details, and documents for internal approval. Clear project information helps the supplier recommend a closer sample and reduces repeated confirmation.
A disciplined flooring sample test turns visual preference into a procurement decision. It links equal comparison, written specifications, and the approved sample to the final order. The selected board should fit the project and remain traceable during production and pre-shipment inspection.
FAQ
Q: What should a flooring sample test include?
A: A flooring sample test should cover color in different lighting, grain, texture, gloss, surface response, edge condition, core construction, flatness, T&G fit, and written sample-to-order confirmation.
Q: How many flooring samples should buyers compare before ordering?
A: Two or three close options are usually enough. Test them under the same lighting, background, and placement conditions, then keep the approved board as the golden sample.
Q: Can a flooring sample test confirm moisture resistance?
A: It can reveal an obvious short-term surface or edge response, but it cannot replace formal moisture, swelling, bonding, or stability documents.
Long-tail keywords used: how to test flooring samples before buying, Engineered wood flooring sample inspection, flooring color test under different lighting, flooring sample approval checklist, flooring sample-to-order consistency


 German
  English
  Spanish
  Arabic
  French